


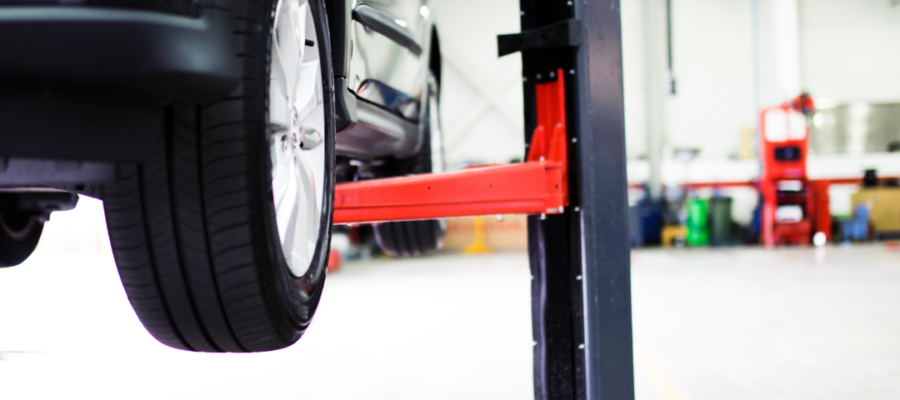

Are you tired of crawling under your car for repairs or struggling to find space to work on it? Installing a two-post car lift in your garage can be a game-changer, providing convenience and efficiency for all your automotive maintenance needs. In this comprehensive guide, we’ll walk you through the process of installing a two-post car lift in your garage, step by step.
Step 1: Pre-Installation Preparation Before diving into the installation process, it’s crucial to prepare your garage and gather the necessary tools and equipment. Here’s what you’ll need:
- Safety gear (gloves, safety glasses, etc.)
- Two-post car lift kit
- Concrete anchors
- Drill with masonry bits
- Wrenches and sockets
- Level
- Electrical setup
- Tape measure
Step 2: Assessing Garage Space Evaluate your garage space to determine the ideal location for the car lift. Consider factors such as ceiling height, clearance around the lift, and accessibility. Ensure there’s enough space for the lift to operate safely without obstruction.
Step 3: Marking Anchor Points Using a tape measure and level, mark the anchor points for the lift posts on the garage floor. Follow the manufacturer’s instructions to ensure proper spacing and alignment between the posts. Double-check the measurements to ensure accuracy.
Step 4: Drilling Holes With the anchor points marked, use a drill with masonry bits to drill holes into the concrete floor for the anchor bolts. Make sure to drill to the recommended depth specified by the lift manufacturer. Clean out any debris from the holes before proceeding.
Step 5: Securing the Posts Position the lift posts over the drilled holes and insert the anchor bolts through the base plates. Tighten the bolts securely using wrenches and sockets, ensuring the posts are level and plumb. Use a level to double-check the alignment during this process.
Step 6: Assembling the Lift Arms Assemble the lift arms according to the manufacturer’s instructions. This typically involves attaching the arms to the carriage and installing safety locks and arm restraints. Ensure all components are securely fastened and tightened before use.
Step 7: Testing the Lift Before using the lift for the first time, conduct a thorough inspection to ensure everything is properly installed and secure. Test the lift’s functionality by raising and lowering it several times without any load. Listen for any unusual noises and visually inspect for any signs of instability.
Step 8: Safety Precautions Always prioritize safety when using a car lift. Follow all safety guidelines provided by the manufacturer and never exceed the lift’s weight capacity. Inspect the lift regularly for any signs of wear or damage, and perform routine maintenance as recommended.
Conclusion: Installing a two-post car lift in your garage can transform your automotive workspace and make maintenance tasks much more convenient. By following this step-by-step guide and speaking with our Force Canada Installation expert and exercising caution throughout the installation process, you can enjoy the benefits of having a lift in your own garage. Happy lifting!
Related Posts

Post a Comment